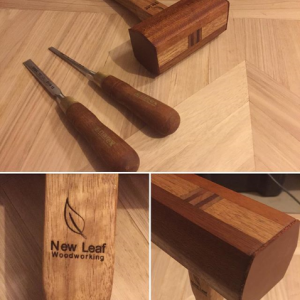
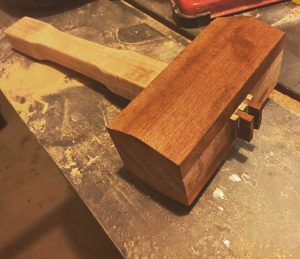
 Taking some inspiration from Shop Notes magazine I made a wooden mallet using some offcuts around the garage.
This was my first time using a wedged tenon and I was very pleased with how well it secured the mallet head and also how it looks.
Also seeing as I have been setting up a home built laser engraving system it seemed only fitting to engrave the New Leaf Woodworking logo onto my new mallet.
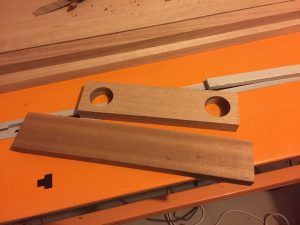
The central part of the mallet and the handle were made from some Tasmanian oak. The two sides of the mallet that trap the ball bearings inside were made out of some timber I found…. I think it might be meranti but I’m not 100% sure.


The central part of the mallet is constructed with a tapered slot so that when the wedges get driven into the slots in the top of the handle the mallet is securely fastened in place.
To finish off the mallet I shaped the handle with a rasp and some sandpaper before adding some leather pieces to the faces of he mallets and laser engraving my logo onto the handle.
Overall I really enjoyed making my own tool/mallet, and I look forward to making more of my own tools. The only thing I would change is how I fixed the ball bearings. I didn’t have any epoxy handy so I just filled the ball bearing recesses up with as much hot glue as I could fill it with… needless to say after using the mallet a lot there is a very slight rattle from one or two ball bearings that are not fully held in place within the mallet head… I should have just stuck to the instructions and waited to get some epoxy!
For anyone that is interested in making their own mallet the design I based mine off is from Shop Notes Issue 2; https://archive.org/stream/ShopNotesMag/ShopNotes%20%2302%20%28Vol.%2001%29%20-%20Wooden%20Joiner%27s%20Mallet#page/n21/mode/2up
